Create Red Wine
Bottle in Coral Draw
In this
tutorial you will learn how to create a nice Red Wine Bottle in Coral Draw. There are a few steps in this
tutorial, and some Shadow effects &
Fountain effect.
Before you
start take a look of final effect.

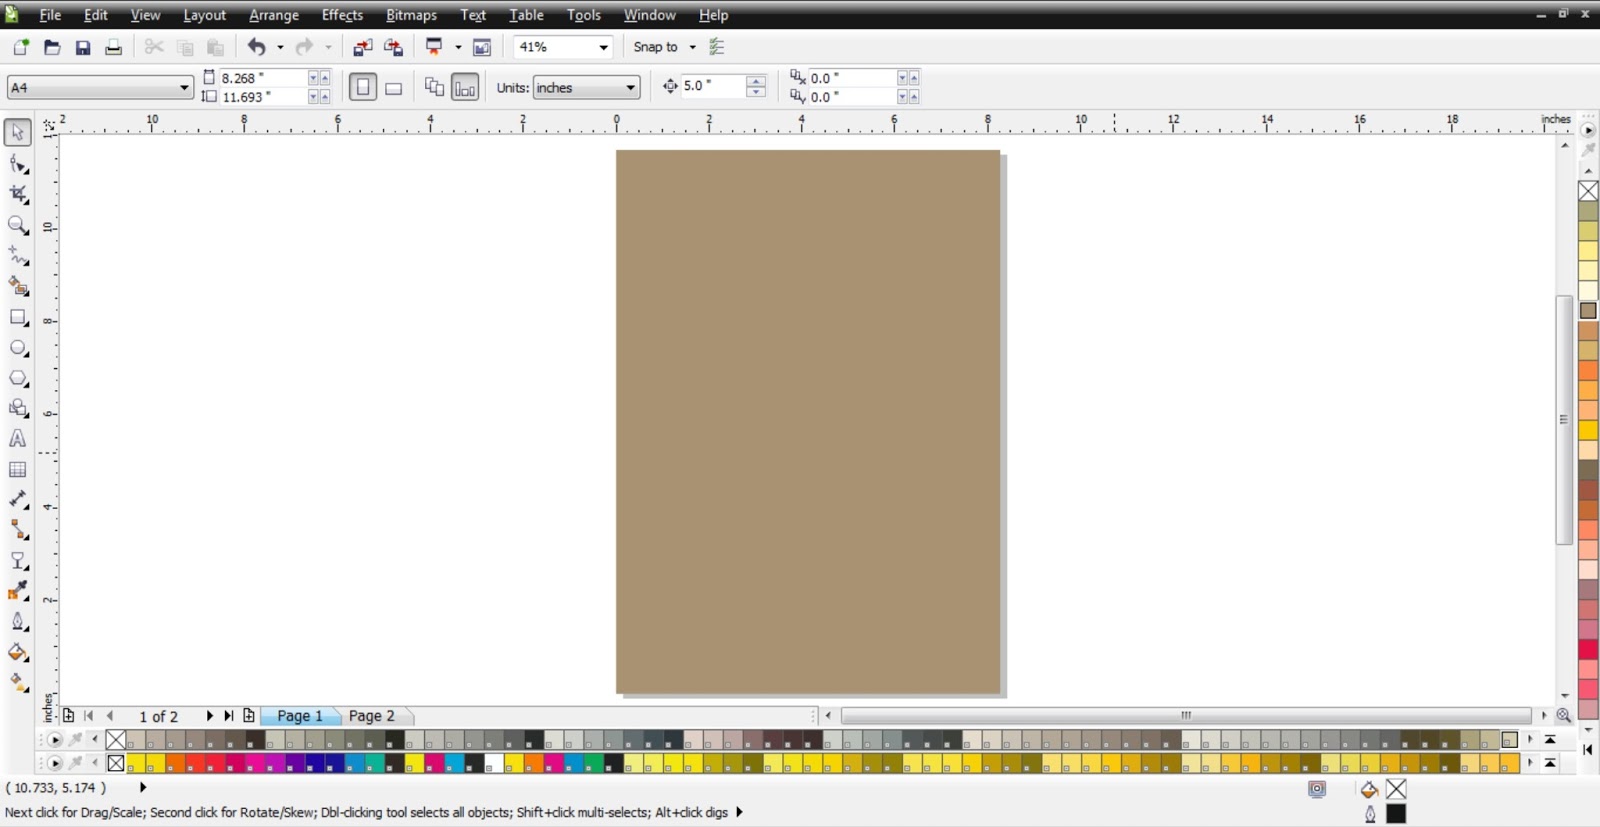
Step 1
Create a New
document sized A4 as a default. Also
you will double Click on Rectangle tool,
and you will get A4 size Rectangle, and Fill color C : 00, M : 20, Y : 40, K : 40. Make following view.
Step 2
After that
select Rectangle, and First we are making a Background for that, go to Fill
tool > Fountain fill (F11). Make following adjustments.

You will get
a nice background.

Step 3
Click on Pen tool, and create your shapes as per
design. Choose the C : 00, M : 100, Y : 60, K : 00, color of the object. Make following view and adjustment.

After that
make following adjustment, go to Fill
tool > Fountain fill (F11).

After
adjustment you will get this.

Step 4
Click on Pen tool, and create your shapes as per
design. Choose the C : 00, M : 00, Y : 00, K : 30, color of the object. Make following view and adjustment.

After that
make following adjustment, go to Fill
tool > Fountain fill (F11).

After
adjustment you will get this.

Step 5
Click on Pen tool, and create your shapes as per
design. Choose the C : 07, M : 40, Y : 100, K : 34,
colour of the object. Make following view and adjustment.

After that
make following adjustment, go to Fill
tool > Fountain fill (F11).

After
adjustment you will get this.

Step 6
Select the object
as per design and make copy then fill C
: 00, M : 20, Y : 100, K : 00, go to
Transparency tool. Make following
view.


After adjustment,
Select the copy object and go to Menu
bar > Bitmaps > Convert to Bitmap. Make following view.

After that go
to Transparency tool. Make following
view.

After adjustment,
go to Menu bar > Bitmaps > Convert
to Bitmap. Make following view.

After that return
go to Transparency tool. Make
following view.

After adjustment,
go to Menu bar > Bitmaps > Convert
to Bitmap. Make following view.

Next select
the recently working object an place to top of the object as per design.

After all
adjustment you will get this.

Step 7
Click on Pen tool, and create your shapes as per
design. Choose the color of object (1)
C : 00, M : 20, Y : 100, K : 00, and object (2) C : 00, M : 00, Y
: 00, K : 100. Make following view
and adjustment.

After that
make following adjustment one by one, go to Fill tool > Fountain fill (F11).
Object 1 adjustment.

Object 2 adjustment.

After all
adjustment you will get this.

Step 8
Click on Pen tool, and create your shapes as per
design. Choose the White colour of
the object. Make following view and adjustment.

After that
make following adjustment, go to Transparency
tool.

After adjustment you will get this

Step 9
Select all
design and group it together, go to Drop
Shadow. Make following adjustment.

After
adjustment your Final Image.

Enjoying
corel draw....
If
you like it Share this tutorial with your friends and family.
Comments
Post a Comment